Build Your Own Golf Simulator Setup: What to Buy First
A build-your-own golf simulator can save money, but only if you make the decisions in the right order. Start with the room, then the hitting zone, then the launch monitor, then the display.
Quick answer
- Best reason to build your own: you get better control over the mat, screen/net, projector, and upgrade path.
- Worst reason to build your own: assuming it will automatically be cheaper after shipping, mounts, cables, turf, subscriptions, and mistakes.
- Best buyer: someone with a clear room, a realistic budget, and enough patience to verify fit before ordering.
Some pages on this site may include affiliate links. Recommendations are still based on room fit, budget realism, and who each setup actually makes sense for. Read the affiliate disclosure.
The right buying order
- Measure the room. Ceiling height, depth, width, garage-door tracks, lights, and swing clearance decide more than brand preference.
- Choose net, screen, or enclosure. This determines safety, display style, and how permanent the room feels.
- Choose the hitting mat. Do not treat the mat as an afterthought. It affects comfort more than almost any accessory.
- Choose the launch monitor. Pick one that fits the room, not just the spec sheet.
- Choose display and software. TV, tablet, projector, GSPro, E6, native software, and subscriptions should come after the room plan is clear.
Start with room-fit pages
Room size guideSpace by launch monitorNet vs enclosureTV vs projector
Where DIY saves money
DIY saves money when you avoid overbuying, reuse an existing display, choose a net before committing to a full impact screen, or build the room in phases. It also helps if your room is unusual and a standard package would force awkward compromises.
Where DIY gets expensive
DIY gets expensive when you buy twice: a cheap mat that hurts, a net that feels unsafe, a projector that does not fill the screen, or a launch monitor that needs more depth than the room has. The cheapest first order is not always the cheapest final setup.
A sensible phased build
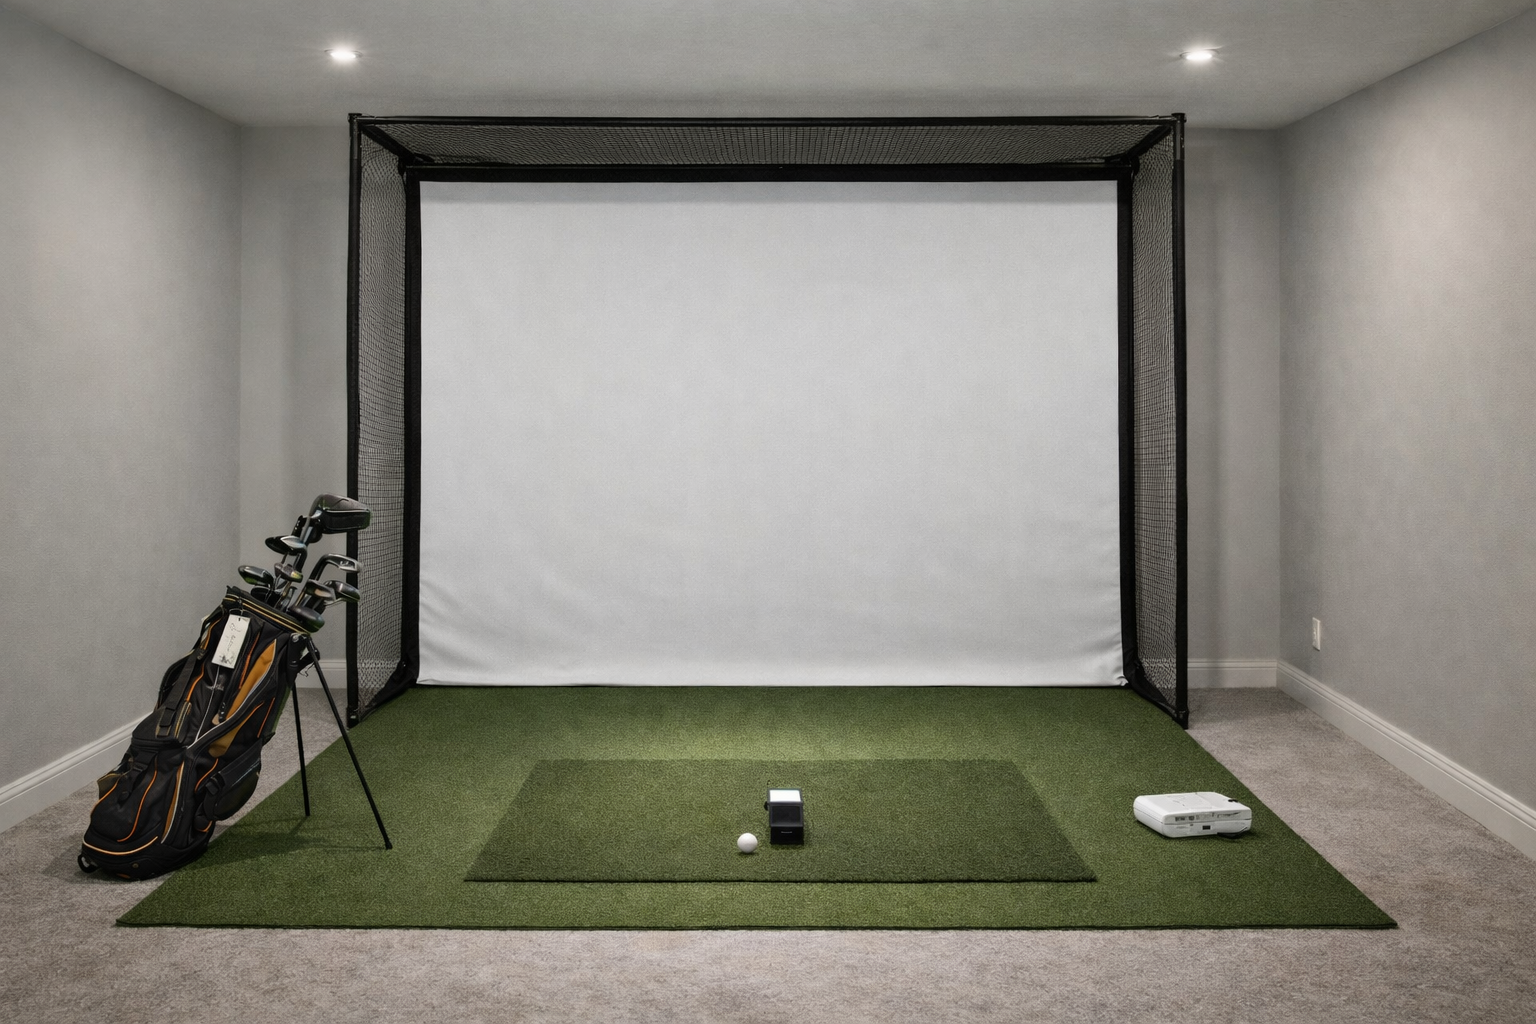
Phase 1: Practice bay
Launch monitor, mat, net, ball tray, and safe lighting. Use a phone/tablet or TV before buying the full projector setup.
Phase 2: Better feedback
Add software, improve alignment, upgrade the hitting strip, and make the room easier to use without setup friction.
Phase 3: Full simulator feel
Add impact screen, enclosure, projector, side protection, flooring, and a cleaner permanent layout.
Compare DIY against packages
DIY vs packageComplete vs essentials packagesSetups under $3,000Setups under $10,000
Start-here and problem-solving guides
How to build a home golf simulatorLow ceiling guideRoom depth guideWithout projector